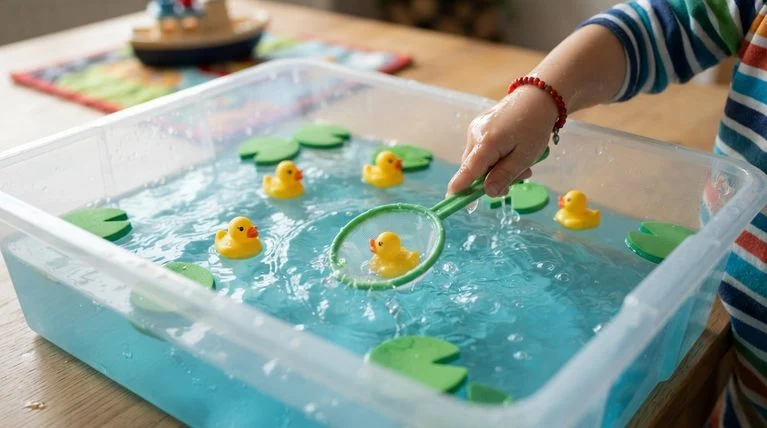
Safe Sensory Play Recipes for Kids: Beyond Slime
When most people hear “sensory play recipe,” slime is usually the first thing that comes to mind. It’s stretchy, satisfying, and endlessly popular — but it’s really just the beginning. There’s a whole world of other sensory materials that support early learning and sensory development just as well, often with fewer ingredients and less cleanup.
This guide walks through a full set of safe, budget-friendly sensory recipes for home, family daycare, or the classroom — from classic playdough to fizzy science reactions — plus practical tips for introducing sensory play to children who are sensitive to certain textures.

Why Sensory Recipes Matter
As kids knead, pour, squeeze, and mold these materials, they’re doing more than making a mess. They’re exploring cause and effect, strengthening the fine motor skills that later support handwriting, and building the neural pathways behind focus, language, and problem-solving. Sensory play also gives kids a hands-on way to process big feelings — the repetitive motion of squishing dough or pouring rice has a genuinely calming effect.
The best part is that none of this needs to be expensive or time-consuming. Most of these recipes use two or three ingredients you likely already have at home.
Playdough Recipes
Playdough is a classic for a reason — the soft, moldable texture builds hand strength while giving kids an open-ended way to create.
Recipe 1: No-Cook Playdough
What you need:
- 2 cups plain flour
- 2 tablespoons vegetable oil
- 1/2 cup salt
- 2 tablespoons cream of tartar
- Up to 1.5 cups boiling water
- Food coloring (optional)
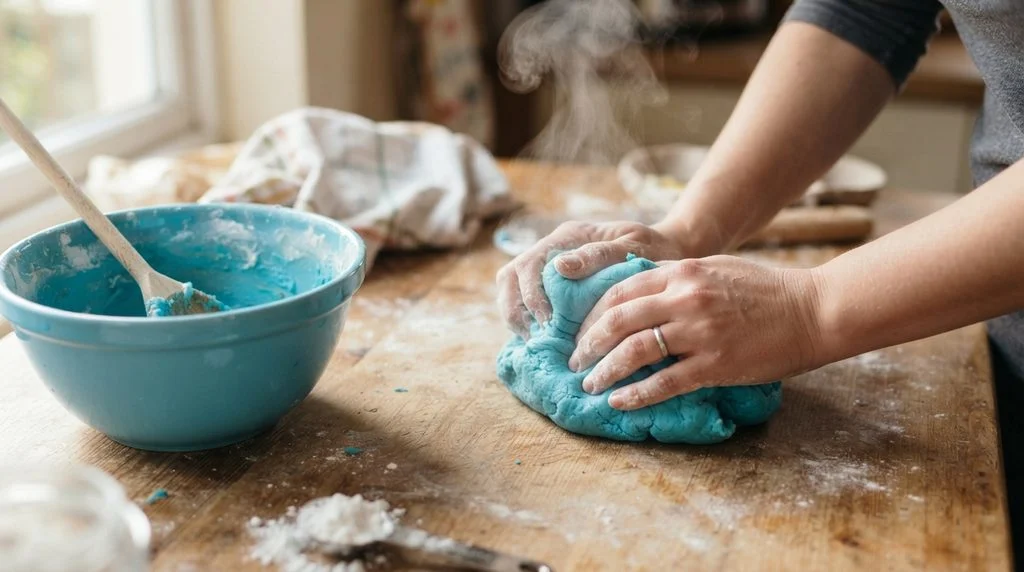
What to do: Combine the dry ingredients in a large bowl and mix in the oil. In a separate container, stir a few drops of food coloring into the boiling water, then slowly pour it into the dry mixture while stirring continuously. Keep mixing until it forms a smooth, stretchy dough. Once cool enough to handle, let kids knead it for a few minutes. Store in an airtight container — a splash of water and a quick knead will revive it once it starts to dry out.
Recipe 2: Microwave Playdough
A faster option if the stovetop version never quite comes together right.
What you need:
- 1 cup plain flour
- 1 tablespoon vegetable oil
- 1/3 cup salt
- 1 tablespoon cream of tartar
- 1 cup water
- Food coloring (optional)
What to do: Mix the dry ingredients in a microwave-safe bowl, then stir in the water, oil, and coloring. Microwave for 1-2 minutes, stopping to stir every 30 seconds, until it thickens into a doughy consistency. Let it cool slightly, then knead until smooth.
Recipe 3: Scented Playdough
Homemade playdough is an easy base for scented sensory play. For a warm, spiced version, knead in a teaspoon each of cinnamon, nutmeg, ginger, and allspice. For a sweeter option, try half a teaspoon each of vanilla, maple, and orange extract, mixed in as you first combine the dough.
Some children (and adults) find strong scents overwhelming, so introduce this version gradually, watch for signs of discomfort, and check for allergies before offering it.
Playdough Extenders
A few loose parts turn basic playdough into open-ended, imaginative play:
- Seashells, pinecones, and pebbles for texture imprints
- Dried beans, rice, or pasta for embedding and sculpting
- Small plastic dinosaurs, insects, or farm animals for habitat play
- Beads, buttons, pom poms, and googly eyes for decorating
- Craft sticks, toothpicks, or uncooked spaghetti as sculpting tools
- A drop of essential oil (lemon, lavender, mint) for scent
- Liquid watercolors or powdered dye for swirled color effects
Household Tools for Open-Ended Play
Everyday kitchen items spark creativity without limiting how a child can use them:
- Rolling pin and garlic press for flattening and molding
- Colander or sieve for pretend “spaghetti-making”
- Muffin tin for molding dough “cupcakes”
- Waffle blocks or toy cars for imprinting textures
- Straws, droppers, and squeeze bottles for design work
- Cookie and fondant cutters for shaping
Beyond Dough: More Sensory Materials
Oobleck (Cornflour and Water)
What you need:
- 2 parts cornstarch
- 1 part water
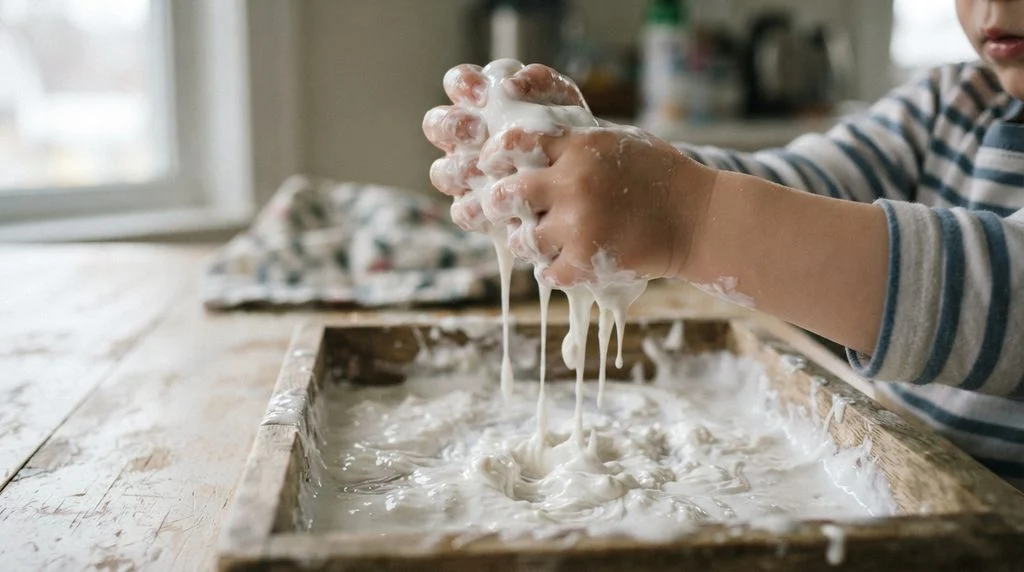
What to do: Mix the two together in a large bowl or wide tub. Oobleck feels solid when squeezed but oozes and drips like a liquid when left alone — a genuinely fascinating texture for kids to explore. Let them add more or less water to see how the consistency changes, mold it, or watch it drip through their fingers.
Cloud Dough
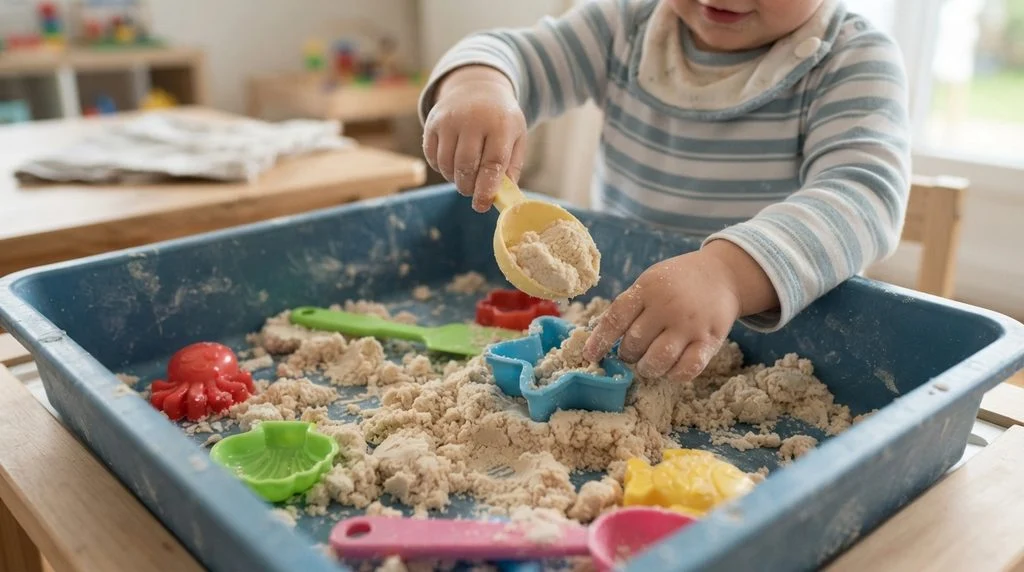
Named for its soft, crumbly texture, cloud dough is safe if a small amount is mouthed, which makes it a good option for babies and toddlers still exploring with their mouths.
What you need:
- 8 cups plain flour
- 1 cup vegetable or coconut oil
What to do: Combine the flour and oil in a large container, kneading the oil in with your fingers until it resembles crumbly sand. Add a little more oil if it isn’t holding together. Set out molds and scoops, or hide small toys inside for kids to dig out. Store leftovers in an airtight container.
Homemade Fluffy Foam
Best for ages three and up, with close supervision due to the detergent.
What you need:
- 2 tablespoons dishwashing detergent
- 1/4 cup water
- Food coloring (optional)
What to do: Mix the detergent and water in a bowl, add coloring if desired, then beat with a hand mixer or whisk until it forms stiff, whipped peaks. Provide spoons and cups for transferring foam between containers. This also works well outdoors with spray bottles for foam art on trees or sidewalks — just rinse off afterward.
Homemade Play Putty
Best for ages three and up, with supervision.
What you need:
- 1 cup white school glue
- 1/4 cup liquid laundry detergent
What to do: Combine the glue and detergent in a bowl and stir until it forms stringy clumps, then knead by hand until smooth. Add a touch more detergent or glue as needed to reach a putty-like consistency. Store in a sealed container or bag, kneading occasionally to keep it soft.
Gelatin Squish Bags
What you need:
- 1 packet or box of gelatin
- Warm water, as directed on the package
- Glitter, sequins, or confetti (optional)
What to do: Prepare the gelatin according to the package instructions, then pour it into a sturdy zip-top bag with any glitter or sequins mixed in. Seal tightly, pressing out as much air as possible, and refrigerate flat for 1-2 hours until set. Supervise play closely to make sure bags aren’t torn open or mouthed.

Bubble Wrap Paint Stomp
What you need:
- Bubble wrap
- Washable paint
- Large paper or canvas
What to do: Cover the work surface, then squeeze paint over the bubble side of the wrap. Place it paint-side down onto paper, and let kids stomp, jump, and step across it to pop the bubbles and spread the color. Lift periodically to reveal the design underneath.
Fizzy Ice Cubes
What you need:
- Water
- Baking soda
- Vinegar
- Food coloring (optional)
What to do: Stir a spoonful of baking soda into water, add coloring if desired, and freeze in an ice cube tray overnight. Once frozen, place the cubes in a shallow tray with droppers or cups of vinegar for pouring. Kids will be captivated watching the ice fizz and bubble on contact.

Fizzy Foaming Potions
Best for ages three and up, with supervision.
What to do: Mix a few tablespoons of dish soap with warm water and a couple of drops of essential oil in a jar. Let kids add a spoonful of baking soda, then a splash of vinegar, and watch the mixture erupt into scented, foaming bubbles. For a version without detergent or scent, set out plain water with safe mix-in materials before adding the soda and vinegar.
Adapting Sensory Play for Different Needs
Sensory play offers real benefits, but not every child responds to every material the same way. What delights one child may overwhelm another — a child who seeks deep pressure input might love a weighted blanket, while another may prefer gentler textures like playdough or kinetic sand.
A few ways to keep sensory play inclusive:
- Start with familiar textures from a child’s everyday environment, like rice, beans, sand, or water
- Offer small quantities first, letting the child explore at their own pace
- Watch closely for signs of distress, such as finger flicking, rocking, or avoidance, alongside signs of genuine engagement
- Introduce new materials gradually — dry textures like playdough before wet ones like foam or gelatin
- Keep some sessions short, around 5-10 minutes, rather than pushing for longer play
- Let the child lead. Offer choices, but never force interaction with a material they’re unsure about
Working with a child’s family, and any therapists involved, is the most reliable way to understand their specific sensitivities and triggers.
Some non-food materials worth having on hand for children with different sensory needs:
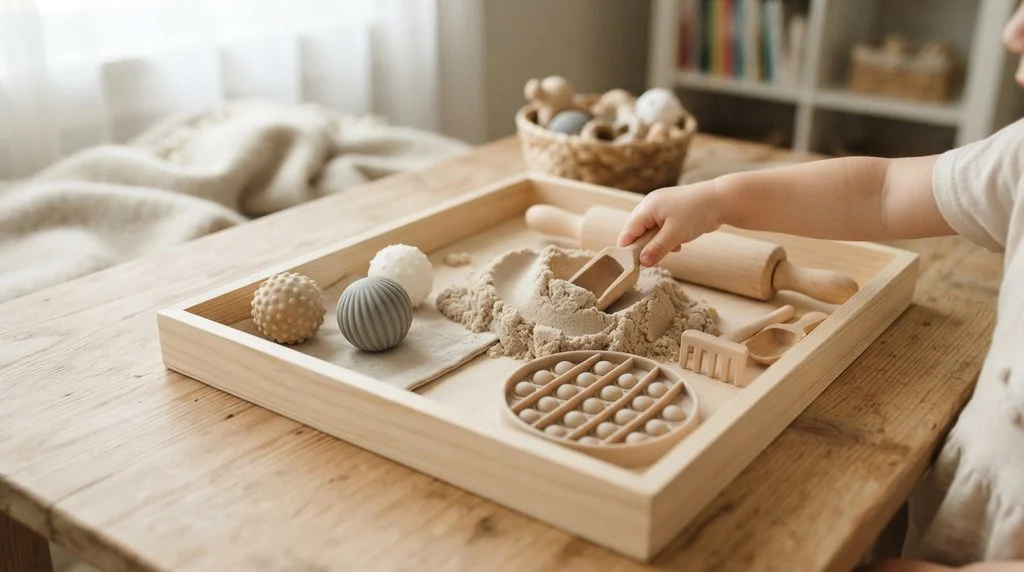
- Kinetic sand for a moldable texture without the mess of wet sand
- Dry pasta or beans for smooth, consistent, low-intensity textures
- Fidget toys with varying resistance levels
- Weighted items for children who find deep pressure calming
- Textured balls for tactile variation
- Vibrating toys for vestibular input, used briefly and not to excess
Safety Checklist for Sensory Play
- Supervise closely, especially with younger children who may still mouth new materials
- Check for allergies before introducing flours, essential oils, or scented ingredients
- Store sensory materials in sealed containers, and discard anything that looks or smells off
- Remember these recipes are made for play, not food — even non-toxic mixtures shouldn’t be treated as snacks
Final Thoughts
You don’t need a fully stocked craft cupboard to build a great sensory play routine — most of these recipes come together with two or three pantry staples and a few minutes of prep. Rotate through a few favorites, pay attention to how each child responds, and let their curiosity guide where the play goes next.